For tomcat server,XAMPP is installed here. To start, we first start XAMPP Control Panel then start tomcat server. To test visit this link.
http://localhost:8080/
if Apache Tomcat/7.0.56 page loaded then your tomcat server ready to work. Visit tomcat manager page through this link.
http://localhost:8080/manager
http://localhost:8080/
if Apache Tomcat/7.0.56 page loaded then your tomcat server ready to work. Visit tomcat manager page through this link.
http://localhost:8080/manager
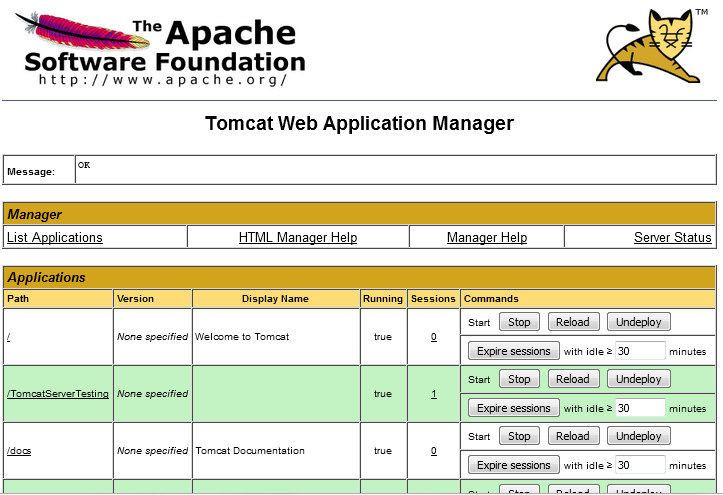
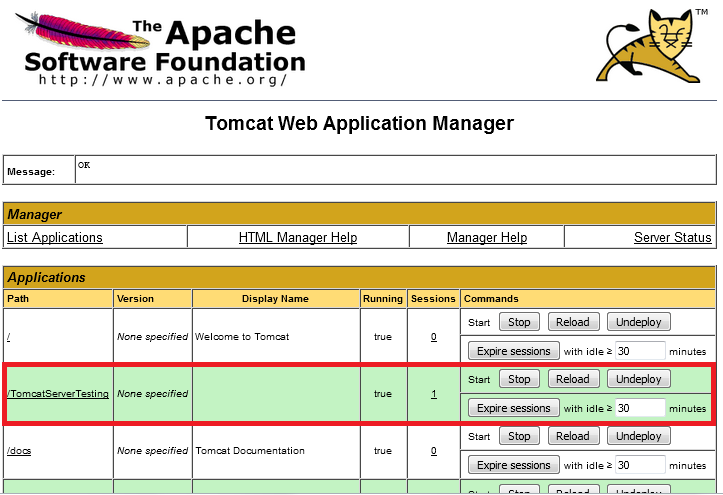
This is manager page window through which we upload our project to tomcat server. Now we need to create our Web Application through Netbeans. go to File>New Projects> Java Web> Web Application
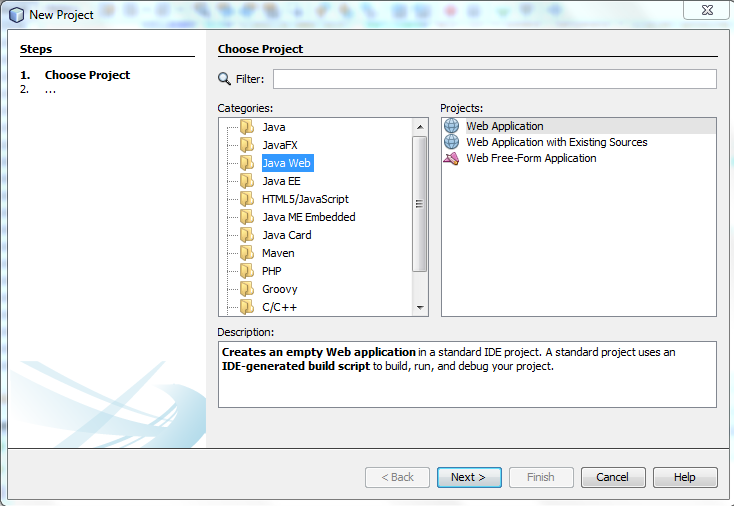
Write WebApplication name, select server as Apache Tomcat and then select any framework that you want. Here we use Struts framework. Finally we created our webapp named as Tomcatservertesting.
Netbeans already create two JSP page for initialization your task. One is index page and the other is welcomeStruts. So we have two page to view. Now we make .WAR file for deploying it to tomcat server. To do that select run>clean and build project. Then you see this build log below netbean window like that.
Netbeans already create two JSP page for initialization your task. One is index page and the other is welcomeStruts. So we have two page to view. Now we make .WAR file for deploying it to tomcat server. To do that select run>clean and build project. Then you see this build log below netbean window like that.
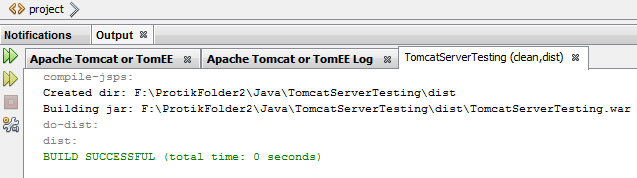
So from this link here we get our .WAR file. Then upload this file to tomcat server through tomcat manager.
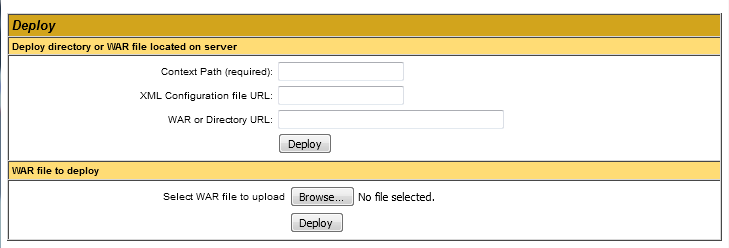
And check our Tomcatservertesting web app name listing or not. If listed, all ok.
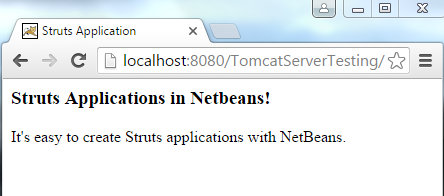
your site now ready to view through this link.
http://localhost:8080/TomcatServerTesting/
Thats it. Comment please for any issue.